
Divine Awakening: Creating a Planet
16/03/2021
I do love playing god. Making planets, animals, and plants is such a satisfying part of game development. One of the most satisfying things I've made for Divine Awakening is the planet globe, in the level select screen. It was a lot of work, but fun work, and I thought people might like to see a break-down of the process I used.
For this process, I used Paint.NET, Painttool SAI, Blender, Greenfish Icon Editor Pro, and Clip Studio Paint. Not all of those were essential (like SAI).
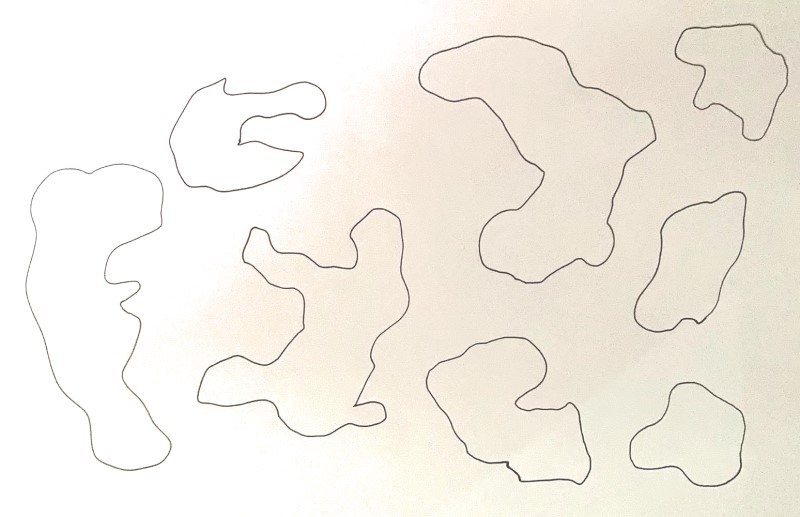
The first step was to get a friend to draw the rough shapes for each country/continent. Easy enough. Then I cleaned up the photo and filled in each country with colour.
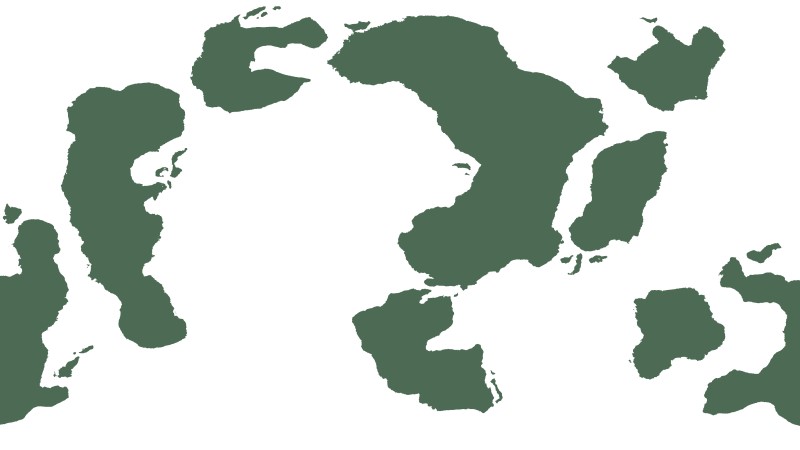
To make the countries look more natural, I arranged them as if they fitted together (we can't forget continental drift), and added a few small islands. A "dents" filter (Paint.NET) roughed up the coastlines. It's important to make at least one country cross the edges of the image - this prevents an unexpectedly large gap on the globe.
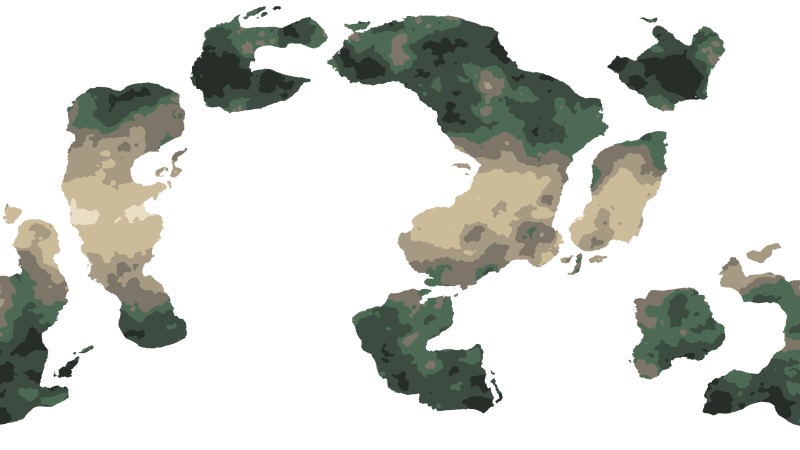
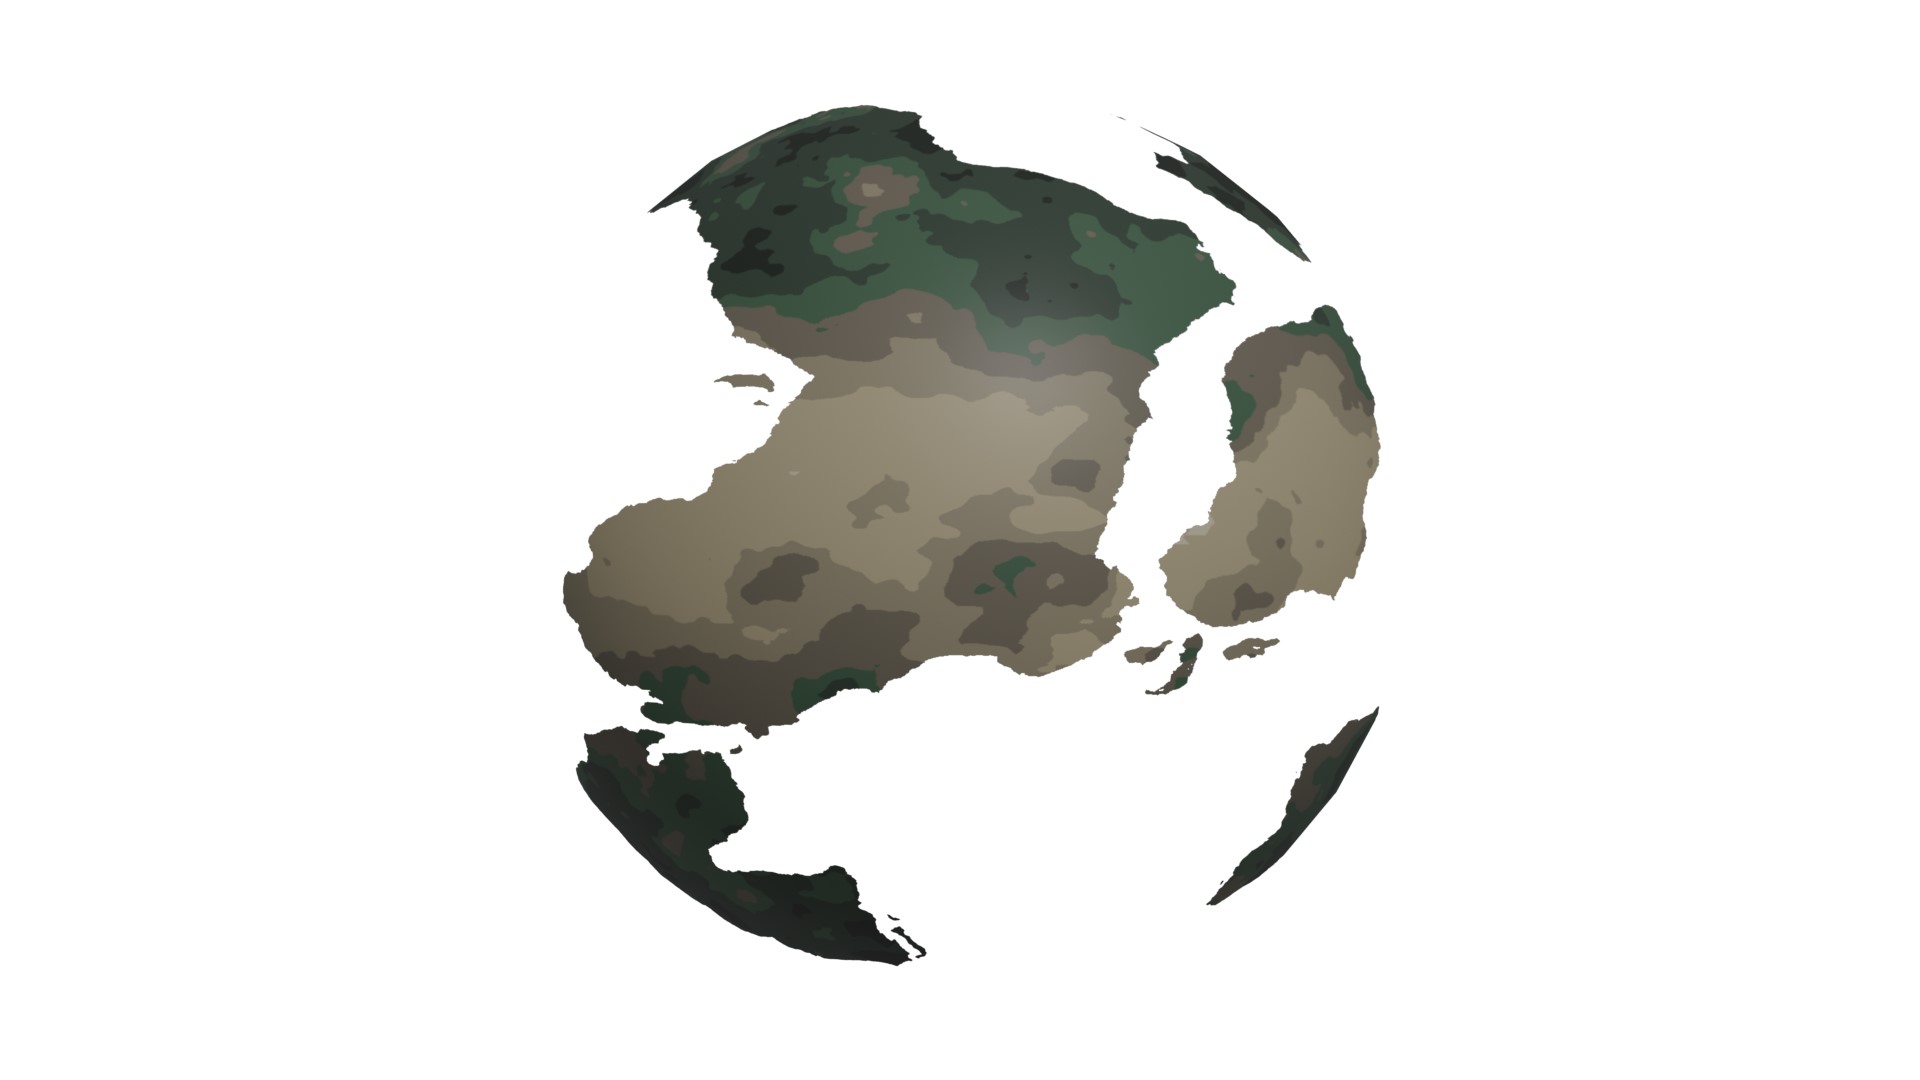
The next step could be done in CSP or Paint.NET, but the latter has ugly antialising. I created the texture using grey perlin noise and an overlay gradient to make the equator brighter. The colours were then reduced with a "posterize" filter, and then the greys were replaced with handpicked browns and greens.
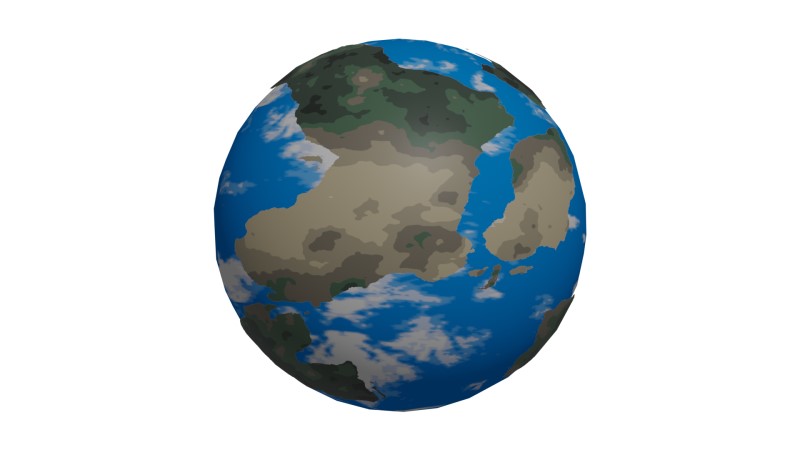
This was a satisfying step - wrapping the new map to a sphere. As a side note, I really hate UV mapping, and nodes too. To make the land visible over the old watery globe, I used a second sphere that was slightly larger. This was a mistake in the end, because the final renders were larger than the originals.
The sea and sky were already made, so I rendered only the land as an animation - 19 frames, from a full rotation of the globe. Next is the tedious part.
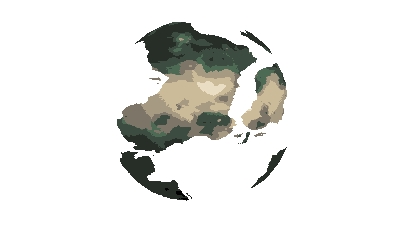
Every rendered frame, was resized and posterised. Then I had to take my original colours (from the map) and use the paint bucket to replace what was left over from the render. The final result is what you see here. It's surprising how well the pallete from the original map worked for the values on the render. It did lose a lot of detail of course, but they weren't really necessary.
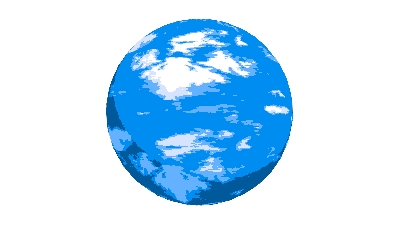
For reference, this is what I had done in the past using the same method and a photo of the sky. Sadly, I did not do my UV wrapping properly the first time around. But this will work fine as a base.
The final globe was made by overlaying the new frames over the old, then copying the clouds back over the top, before some colour adjustment. Thankfully, after limiting the colours so severely, I could still use filter layers and opacity without soiling the limited pallete look. If someone would be up for all the work involved, this method might be good for making a whole game with so called "pre-rendered" sprites. Not that anyone bothers with those much these days.