
Pixel Art Tips and Tricks
Last updated: 26/04/2025
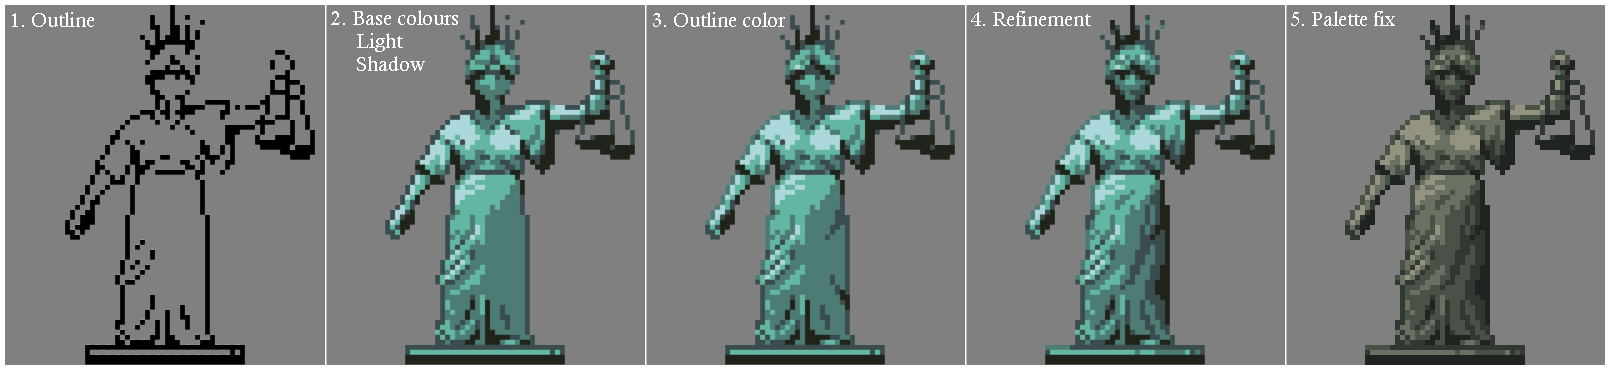
This page is where I will put any tips, tricks, and process guides that are too small for their own dedicated page.
Adding depth to tiles using warping and lighting
This is a technique for use in tricky situations where a complex pattern has to be applied on a simple shape. It's a good way to make interesting tiles without spending too much time getting the form right. The steps involved are as follows:
1. In this example, I have scaled up a smaller section of a tile, to get the pattern I want without having to draw it from scratch.
2. The base texture is drawn and becomes the true starting point of this process - a refined group of tiles depicting a 2d pattern/texture
3. The shape I want to "project" the texture from step 2 onto is shown at "a" - it is the bottom of the cylinder, which has a curved line that will be separated as shown in red (b). The tiles to be warped are placed above the curve, and then one at a time, each collumn of pixels is translated to touch the curved line (b). The result is a curved shape partially shown in "c". This shape is then divided horizontally along any full row of pixels and the divided parts are arranged so that they are square tiles again (3).
4. The next step requires a simple mock up of the light and shadow (pictured left of step 4). For each colour on the mock-up, the corresponding area of the tiles-in-progress is selected, and then the bucket tool is used to darken or lighten the colours of the selected area, moving from one extreme of value to the other. If there aren't enough colours in the pallete, then some of the original colours may have to be combined inside the selected area - as in the darkest vertical section of the tiles shown in Step 4, where there are only two dark grey colours.
5. The next step is, as always, to refine the work, removing stray pixels and improving readability.